Part No. CCHW4600HBP-SIP-U1 - Case 6-120505-78047 - Question: How to replace AD Board?
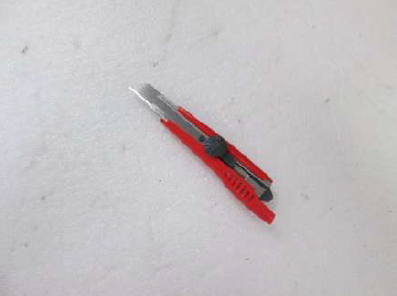
Tools: Screw Driver, Knife, Wrench and Silicon
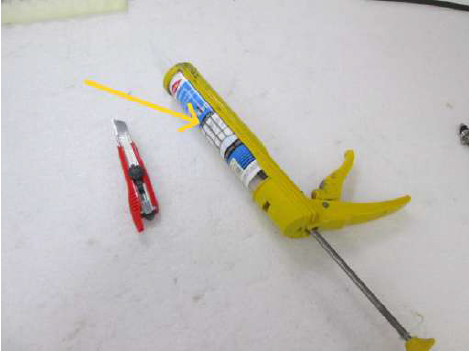
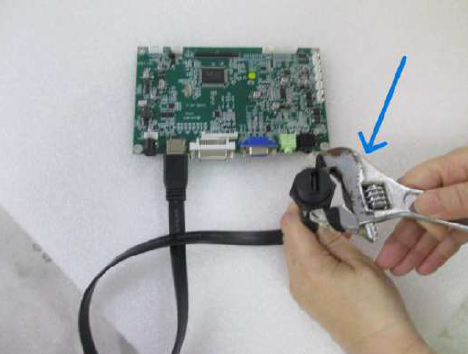
Step 1. Loosed the stainless screws and removed Top cover ( blue marked )
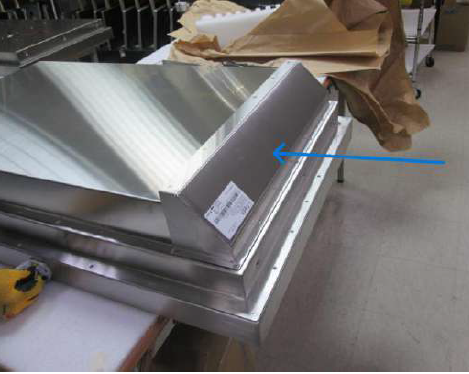
Step 2: Loosed the stainless screws, disconnected cooling fan power ( red marked ) and removed the cover ( yellow marked ).
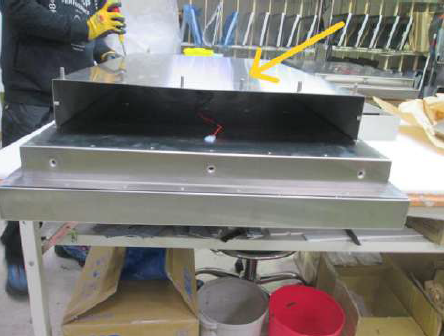
Step 3: Loosed stainless screws ( blue marked )
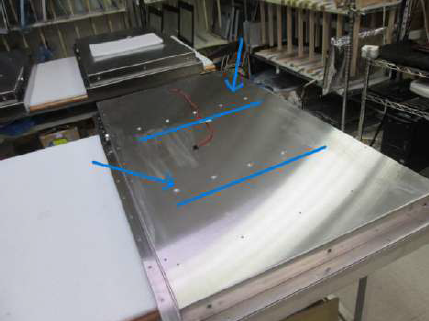
Step 4: Loosed the stainless screws ( green marked ).
Step 5: Used knife to separate the cover waterproof gasket and front bezel ( blue marked ) carefully.
Step 6: Lifted the cover slowly and carefully ( red marked ) to check HDMI cable connection ( yellow marked ).
If you find the HDMI cable has broken or contact issue in Step 6,
a. Please replace or re-connect internal HDMI cable or HDMI
waterproof connector again.
b. Please only recover “ Step 4 “.
c. HDMI signal function Test
If it doesn’t have HDMI signal, please follow below steps to replace AD board.
Step 7: Loosed VGA socket’s screws ( yellow marked ) and removed HDMI cable ( blue marked ), VGA internal cable ( red marked ) carefully.
Step 8: Reconnected power cable ( red marked ), RS232 remote control cable ( green marked ), Touch USB cable ( white marked ) then removed the cover ( blue marked ) carefully.

Step 9: Reconnected
a. power cable ( blue marked ),
b. invertor cable ( yellow marked ),
c. LVDS cable ( red marked )
d. light sensor cable ( purple marked )
Step 10: AD board ( green marked ) replaced.
Step 11: Replaced new waterproof gasket to cover.
Step 12: Use silicon to surface ( yellow marked ).
Related Articles
Part No. CCHW6500-SIP-H - Case 6-120194-77571 - Question: How to replace AD Board?
Step 1. Loosed the screws and removed the maintenance cover. (blue marked) Step 2. Removed some cables and loosed AD board screws. Red marked : LVDS cable Yellow marked : Backlight cable Green marked : 12VDC power input cable White marked : HDMI ...Part No.: AVPW1560Ce - Case 6-OW-110901-78507 - Question: How to Replace AD Board and IO Board?
Step 1. Remove screw x 14 to remove rear cover Step 2. Re-plug LCD cable on the AD board to check if the issue can be eliminated. If not, please replace the AD board and make sure the wiring is exactly the same as the original. Step 3. If the new AD ...Part No. NPW617HD-24 - Case 6-120365-79257 - How to replace AD Board Inverter?
Before your work, please make sure that the power is disconnected. Step 1: Remove all the LCD panel screws. (12 screws, 3 on each sides). Step 2: Remove the LCD panel frame. Step 3: Remove the LCD mounting screws on the back of the unit. (4 for each ...How to Remove and Replace AD Board - Model: SCHW4200HB-SIP-V1
Part no: SCHW4200HB-SIP-V1 SO: 1103041a Replacement Procedure 1. Loosed the stainless screws of the maintenance cover and removed the maintenance cover ( with waterproof gasket )... blue portion. 2. Loosed the waterproof cover ( DVI ) and loosed the ...Part No. CCHW4300HB-SIP-H - Case 6-120127-77791 - How to remove AD Board
Steps how to remove AD Board Step 1. Loosed the rear maintenance cover screws. ( blue marked) Step 2. Removed some cables and loosed AD board screws. a. Blue marked : 12VDC power cable for AD board b. Yellow marked : GND cable ( AD board ) c. Orange ...